Book Cover Design for Indie Authors

I thought I’d make a post to show off some of the book covers I’ve designed and illustrated in recent years, as well as talk about the process of creating them.

All these are in collaboration with independent authors self-publishing their books. I’ve had the privilege of working with many passionate writers and creators over the years, and am grateful for the trust people place in me to do the cover for a project that may have taken years to create!

A lot of these commissions have come via Reedsy: https://reedsy.com/tom-mcgrath
I’ve had pretty good reviews there (so far!)

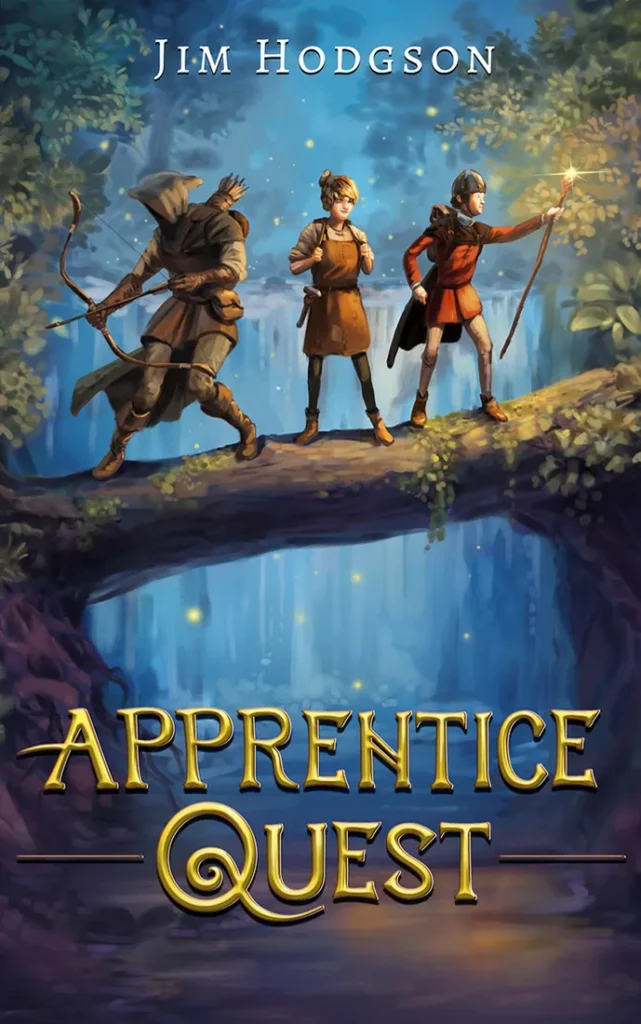
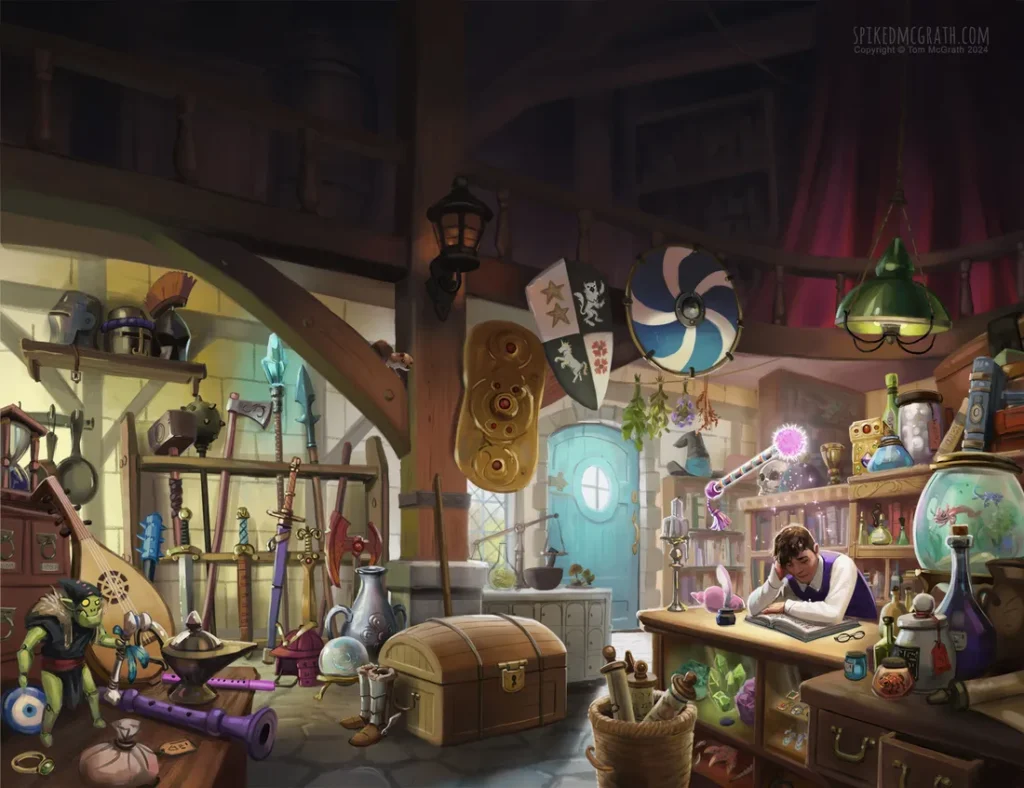
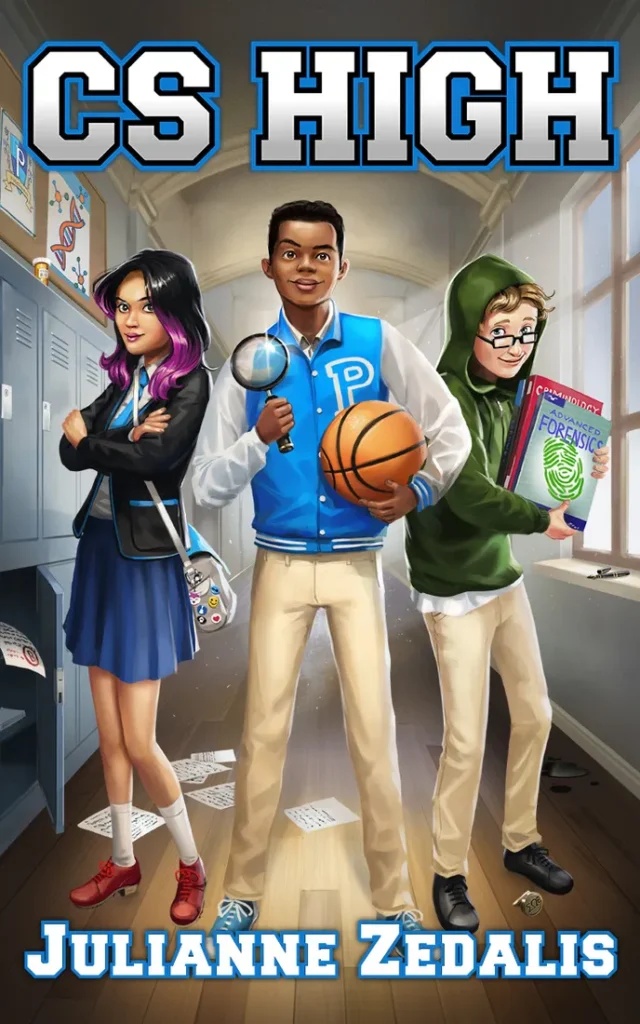
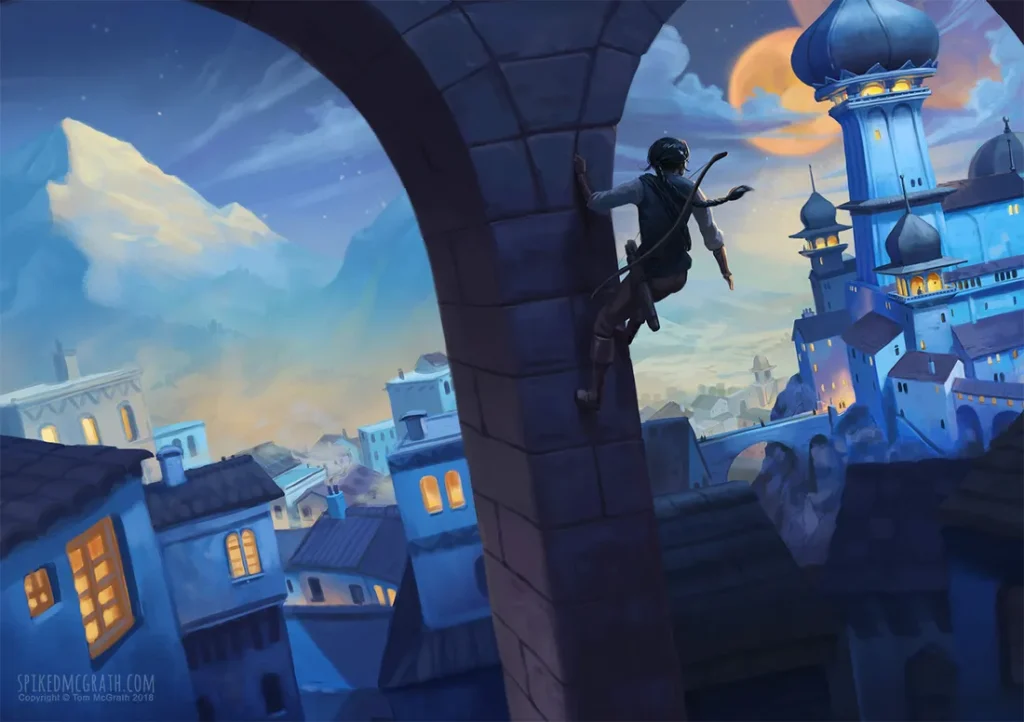
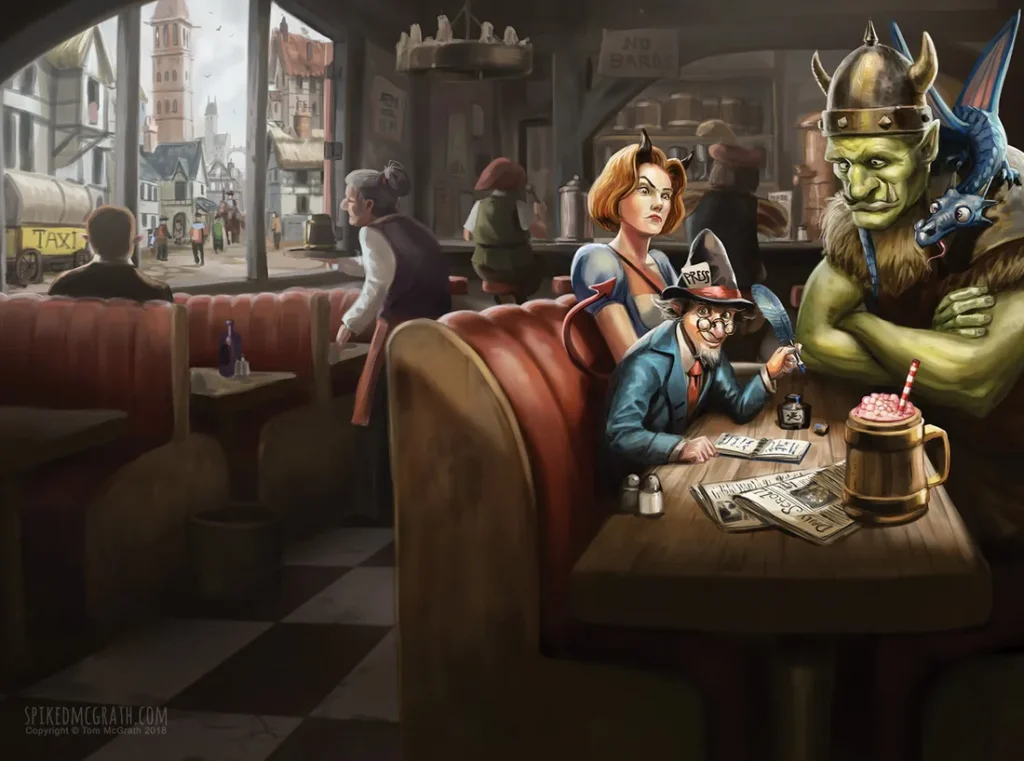
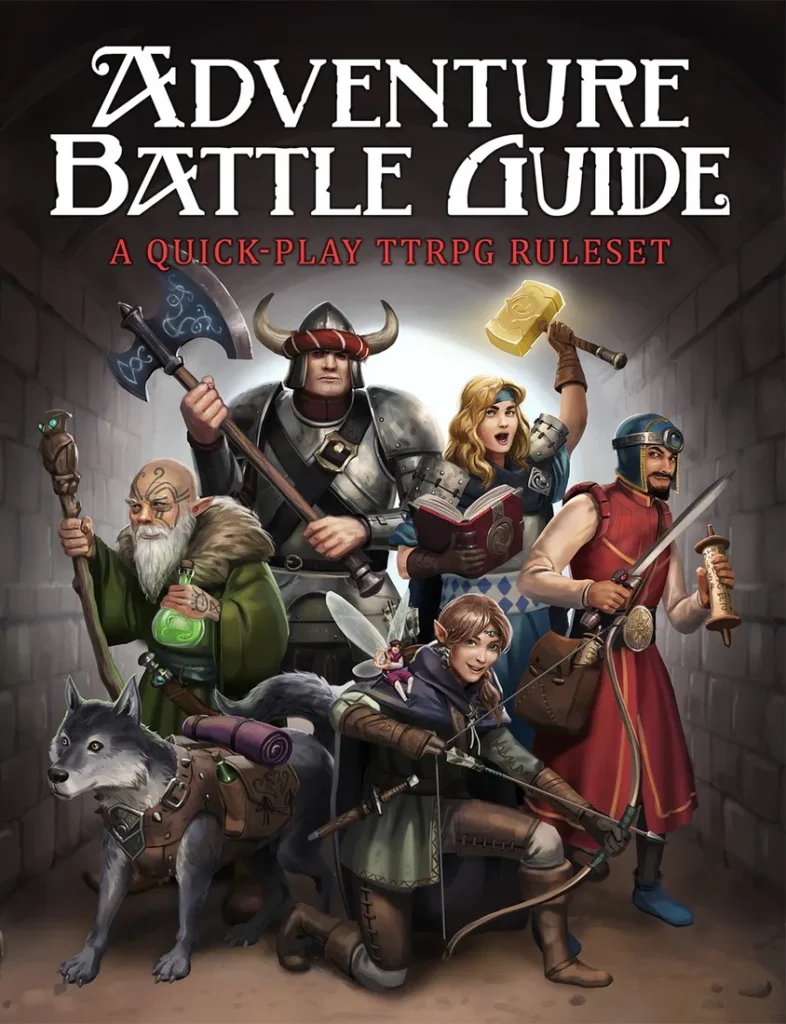
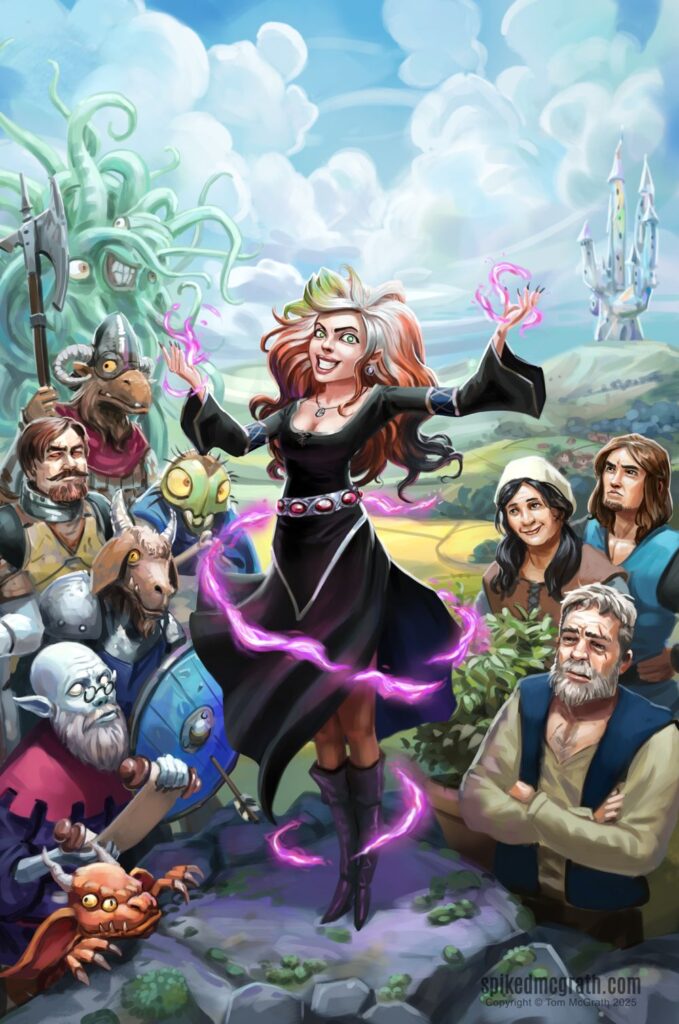
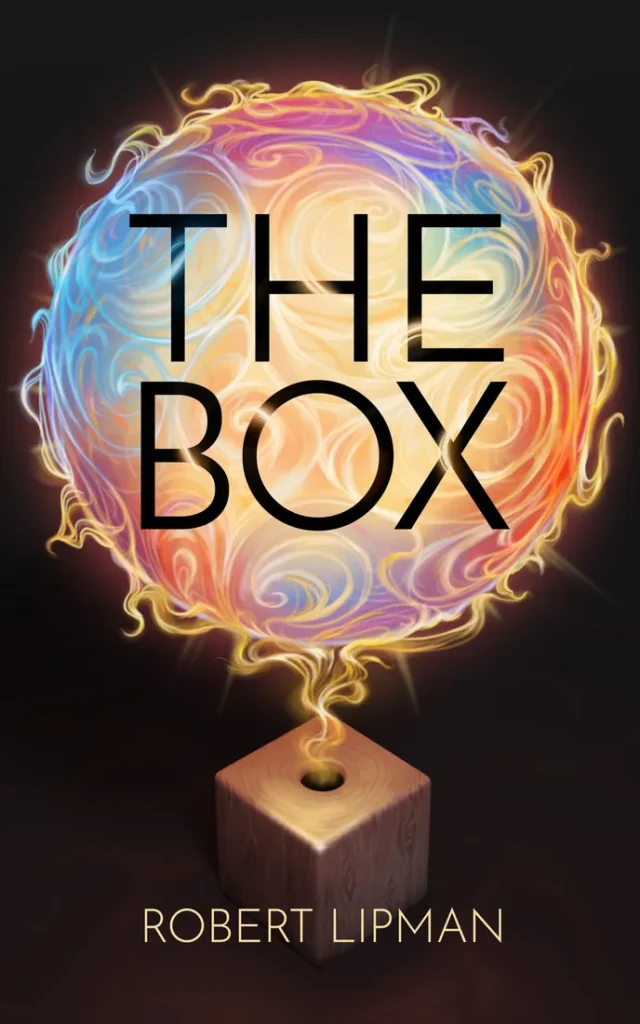
Here’s a few I’m particularly proud of- some complete covers and some illustrations from different books I’ve worked on:
How the cover creation process goes:

We start with a brief- some notes, or maybe a few chapters from the book so that I can get a feel for the project and the type of thing that might work for the cover. Some people are kind enough to send me the whole manuscript. Though I rarely have time to read a whole book- I’ll always read a few chapters and any notes I’m given.

After reading up on the project and discussing ideas with the client- I always start by drawing up some thumbnails of potential options for the cover. Every cover design has to work at a small scale so that it draws attention even in it’s tiny product thumbnail form, so I’m keeping this in mind when designing. Big shapes, clear silhouettes and graphic forms work best. Usually I pick the best one or two then send them over to the client for review.
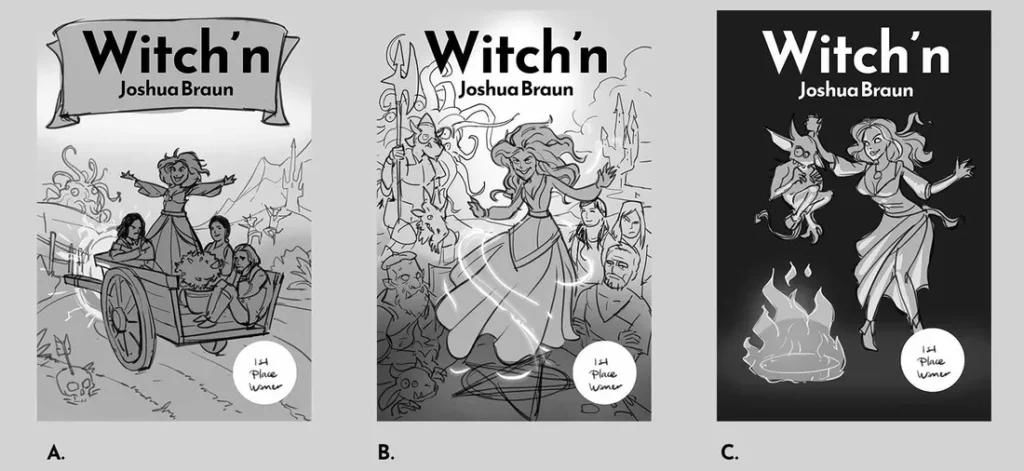
Thumbnail drawings for Witch’n by Joshua Braun

Once they’ve picked the one they like best- or some variation on the thumbnail- we proceed to the next stage- which is usually a colour plan. As before- I start with a few options and pare them down to the strongest. Again, the client gets a chance to review and direct, and once they’re happy we proceed to the next stage.
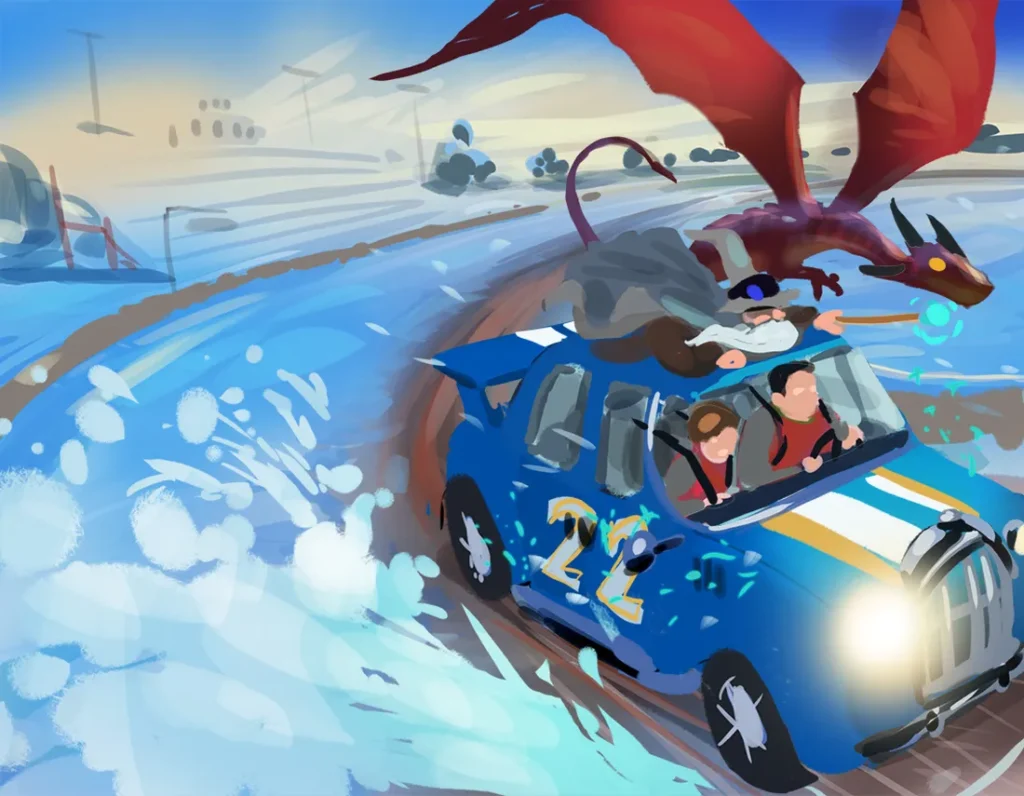
A rough colour plan for Leo and Notsch by Jason Parks

Throughout the process I’m thinking about the ultimate purpose of the design. There’s a always a tension between the most creative ideas and the reality of what a cover design is- which is marketing. It pains me as an artist sometimes, but the commercial element is extremely important to a successful design. Supposing you created the most avant-garde, creative and personally fulfilling cover design possible, uploaded it to Amazon and waited for the sales to roll in? In reality people who enjoyed your genre of book would almost certainly scroll past it because they didn’t know it was for them! A potential buyer seeing your cover for the first time with no other context is always making a snap judgement about whether it looks like the kind of thing that they (or their intended reader) actually reads.

The frustrating (in my opinion) reality is therefore that you have to be informed by what everyone else is currently doing- so you can give the right context cues about the target audience. If you can tell the genre and the target audience straight away then the design is doing it’s job. This often frustrates authors too, because nobody likes to put their work in a box. The fact is though that it helps a great deal to have an audience in mind!

The final illustration stage is next- where I go away for (usually) a week or two and paint the final artwork. This is where I can start to relax, because at this point I know what to do, and I just have to do it! There’s one last chance for review by the client before this stage is signed off.

A wizard clings to the roof of a race car, while a red dragon flies alongside.
Leo and Notsch- the final cover illustration

Once the illustration is done- it’s down to the last part- which is usually graphic design. This involves placing the text, typesetting and styling, along with any other elements like logos. Again, it’s a back and forth with iteration until the final result is achieved.

Sometimes there’s custom lettering involved- which is an involved process in it’s own right.
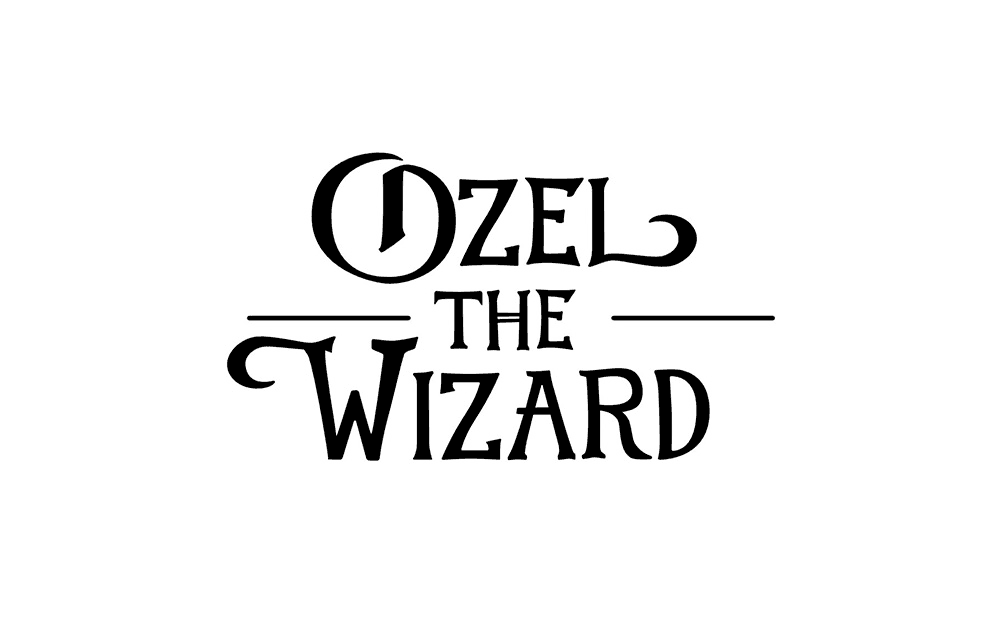
A bit of custom lettering for the Ozel the Wizard series by Jim Hodgson

Once everything is approved- I process and deliver the final files. Usually I’ll stick them in a .zip file on google docs, or just send them directly if the file size isn’t too big.

If anything needs tweaking- then I’ll sort that too. Often when publishing to Kindle direct or Ingram Spark people find that the template needs to fit exact dimensions that account for the page number and the paper type- so that often requires a final adjustment.

If you’re interested in having a cover designed, or need illustration for a project- you can contact me here and I’ll be happy to help: contact

Alternatively, if you’d like you can also request a quote over on Reedsy you can do that here: https://reedsy.com/tom-mcgrath

Cheers!
General Wisdom for Artists in 2025

I first started these General Wisdom for Artists posts over ten years ago! Analytics tells me that people have actually been reading them!

Perhaps this is too personal, too abstract, too disparate. I don’t know. I’m writing it to get my thoughts in order as much as to help others. Here we go:

Fluency

There exists a type of learning that can only be built up through repeated doing. Sounds obvious, I know. But the point is that all these blog posts and art tips are only a skeleton upon which the muscle and sinew of actual experience must grow! I call this type of learning “Fluency”.

In the same way you can learn a new language and become fluent- so too can you learn the fundamental principles of art and become fluent in each of them. Think of it this way- you can speak a new language by consulting a phrase book, or you can become fluent in it. It’s the difference between book-learning and true understanding.

You don’t know what you don’t know.

Supposing you recorded your workflow for a few different pieces and put them on youtube. Then you watched it back, maybe comparing your approach to other artists. You’d be struck by the particular patterns you follow and the particular ways you do things. You might also notice a few repeated mistakes.

You have a method, skillset and strengths that you probably haven’t articulated to yourself before. It’s to your benefit to understand these. You don’t know what you don’t know, and tackling your blind spots will make you a better artist.

This connects somewhat with the fluency idea expressed above- because sometimes you can be fluent in doing things wrong! Having looked over some of my recent artwork I know that messing up perspective and tonal values comes to me as easily as riding a bike. I thought I had these things sussed out years ago. It’s something I have to work on I suppose.

Enthusiasm

I haven’t done much digital work for myself in recent years. I used to fill sketchbooks, digital and traditional- and even that has stopped. Life has had ups and downs- and the art “industry” is currently in middle of an existential crisis with generative AI. Or maybe it isn’t- who can say? Personally I don’t know what to think anymore.

It’s a strange time to be a digital artist. We’re sort of still useful, but who knows how long for? I’ve painted book covers for clients who originally used generative AI- but found that the results turned people off by being too artificial- too obviously AI. I occasionally get given AI references that are better than I could ever paint and get asked to recreate it.

I’m rambling a bit but the point is that it’s hard to devote myself to something that used to have such obvious value, and now might not. Should I be re-training as a plumber right now?

The one consistent joy for me has been plein air painting- which might be less about the art and more about the act of getting out into the world and doing something purely for the hell of it. Do what you love, right?

It’s almost always worthwhile to leave the house.

Some final scattered thoughts

Present your work nicely. Consistency is key. I rarely follow my own advice on this one.

Automate unimportant decisions. Life’s to short to spend lots of time on the minor things.

Finish what you start. I’ve been prone to making lots of little incomplete drawings and paintings over the years, and none of them are good enough enough to show to anyone, but also not original or interesting enough to satisfy myself!

Don’t skimp on hardware- I bought an Ipad pro in 2021 and have used it every day since. It was expensive, but it’s been worth it. The lenovo tablet I bought just a couple of years earlier has mainly sat in a drawer because it’s terrible. The price difference wasn’t even that much!

That’s it for another few years I think.

Ditching Photoshop, embracing Krita

Having become completely sick of Adobe and thier general shithousery- I’ve decided to say “so long Photoshop” and ditch the software I’ve been using faithfully since I was 12 years old. Goodbye Photoshop, my abusive partner, I hate your guts.

Enter Krita! The open source painting program that I’ve been very impressed with for some time.

The Krita UI is a bit intimidating at first. It’s default setup is overwhelming and could definitely do with some refinement, but give it a chance.

I’ve been using it for just over a year now and I’m happy enough with the stability and the performance to use it for all my client work. Having dipped into Krita in the past and having issues with the brush performance I’m happy that the latest versions seem to be much better.

Reasons that Krita is better for illustrators than Photoshop:

  • It’s free! You won’t be unable to open your decades of work the moment you stop paying “rent”.
  • There are multiple brush engines. Most of which let you tweak many more parameters than in photoshop.
  • It has the shape fill tool! You create the selection and fill at the same time. It’s a much better flow that “select” then “fill”.
  • You can transform a selection consisting of multiple layers at the same time- this is absolutely game changing as far as I’m concerned, and I use it all the time.
  • Plugins and customisation. The python API lets you automate so much.
  • The assistant tool- you can have toggleable, editable perspective guides saved into the file itself.
  • It’s designed for illustration, rather than photo editing. Plus it’s only going to get better- and add more illustration centric features. Rather than focusing on generative AI or photography.

Some teething problems I’ve encountered as a recovering Photoshop user:

  • The eraser not being “E”
  • The default UI is pretty overwhelming
  • Clipping masks work slightly differently, and aren’t recognised when opening a .psd file.
  • The text tool is currently inadequate. It’s clunky to use and it isn’t designed for multi-line text. From what I understand a better version is currently in development.
  • There’s a separate delete for layer and layer content.
  • I miss the “replace colour” tool.

Things I thought would be a problem and aren’t:

Handling files for export. I thought I need Photoshop’s precision with guides or colour management or something? Nahh.

PSD compatibility. Clipping masks aren’t recognised when opening .PSD files. you can just toggle them on yourself. No big deal.

Losing my extensions. Well, Krita does all that stuff already: I don’t need lazy Nezumi because Krita has assistants and brush smoothing options. I don’t need brusherator because Krita lets you tag brush pre-sets and assign shortcut keys with the ten brushes script. I don’t need toggleator because I can easily write a python script (or get AI to help me) to do the same thing, plus more.

Performance and stability. Undeniably photoshop still has an edge here. However Krita is definitely at a level I’m happy with now, which past releases where not. There’s also ongoing development to keep refining performance.

Some recommendations for former photoshop users.

For me- the biggest friction point when switching to Krita was the way that the eraser is not a separate tool, but a mode applied to whatever tool you’re using.

For instance, you can go to use the fill tool- and having used the eraser brush last- you fill the page with “erase”. In other words you erase everything. Pretty frustrating.

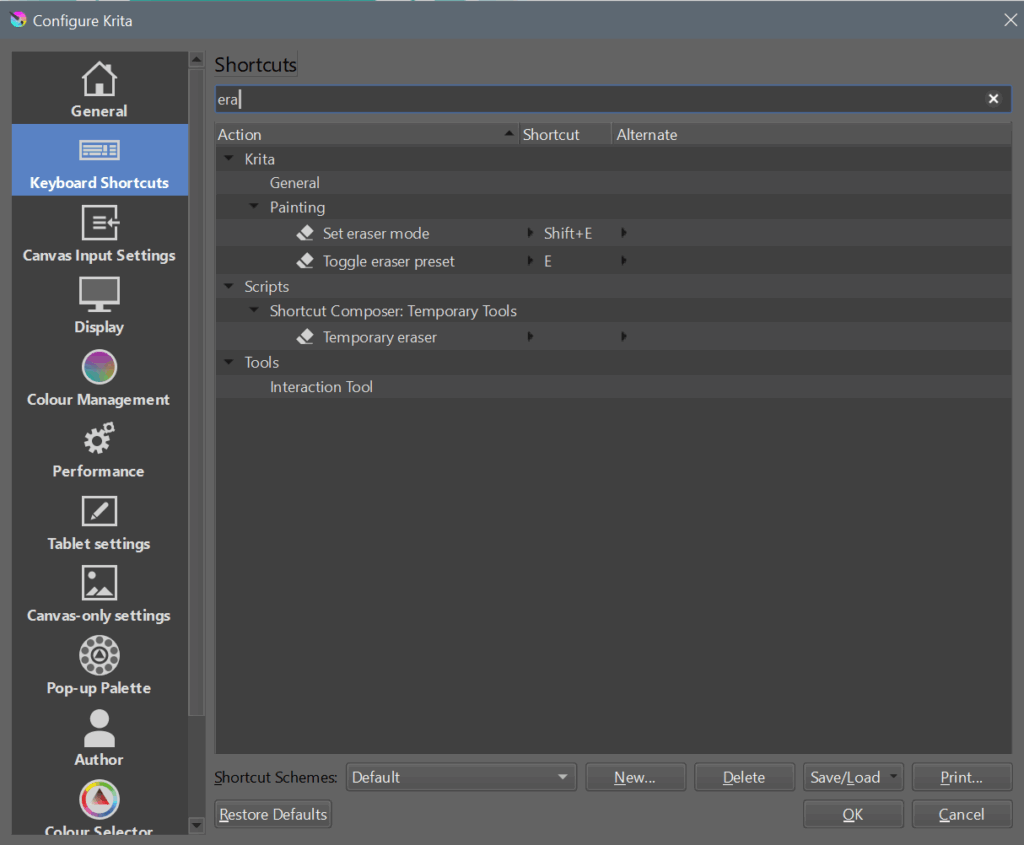
This is something you just have to get used to. If you’re handy with python you can script some workarounds, but ultimately it’s a different paradigm for how the software works. One thing you can do to lessen the pain is to set a custom shortcut to toggle the eraser preset:

Another recommendation is to use the photoshop-compatible shortcut scheme- and to read this guide: https://docs.krita.org/en/user_manual/introduction_from_other_software/introduction_from_photoshop.html

In my opinion the most important bit is the difference in how Krita handles layer compositing- which explains why opening a .psd with certain clipping layers and blending modes will give unexpected results: https://docs.krita.org/en/user_manual/introduction_from_other_software/introduction_from_photoshop.html

Obviously it takes time to overcome old habits and conventions- but for me it’s been totally worth it. I don’t want to sugar coat things- Krita is definitely not perfect right now- but it’s getting better, and tools are worth it.

If you’re on the fence- give it a try for few weeks then decide: https://krita.org/

Watercolour en plein air

I absolutely love plein-air painting in watercolour. Basically- painting outside on location. I’ve been doing as much as I can and it’s still just not enough. I should really be doing it today instead of this!

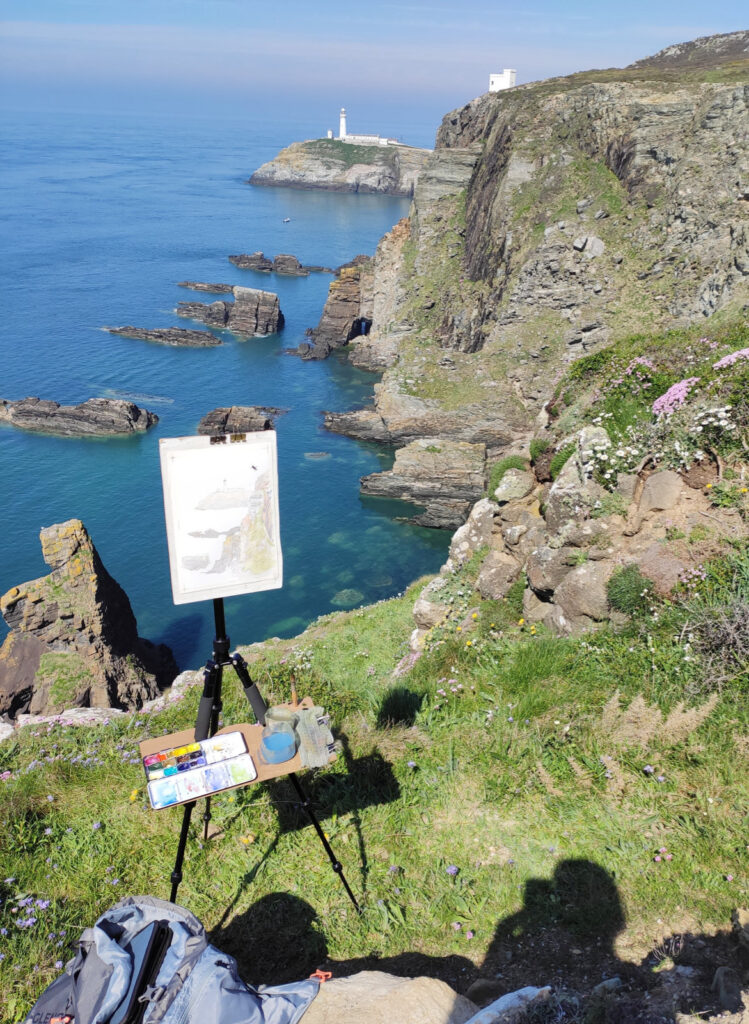
A beautiful spot near South Stack lighthouse, Anglesey.

The results are usually not that impressive- my watercolour skills have a long way to go- but the experience of doing it is always worthwhile. When it goes well it can turn a good day into a great day.

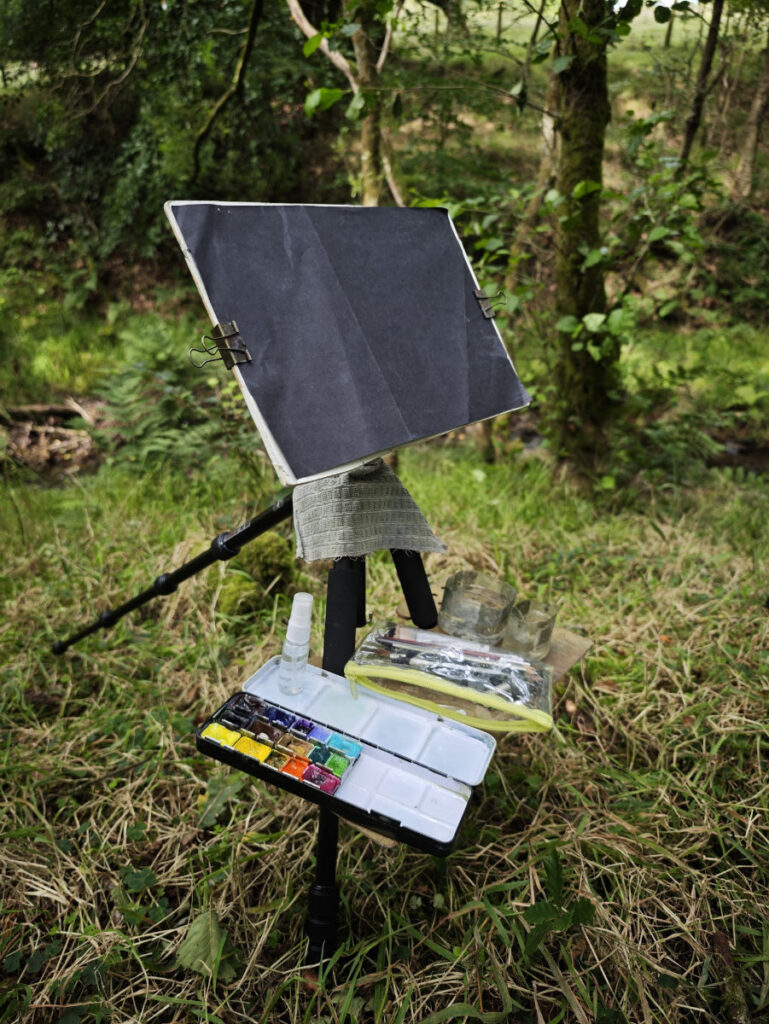
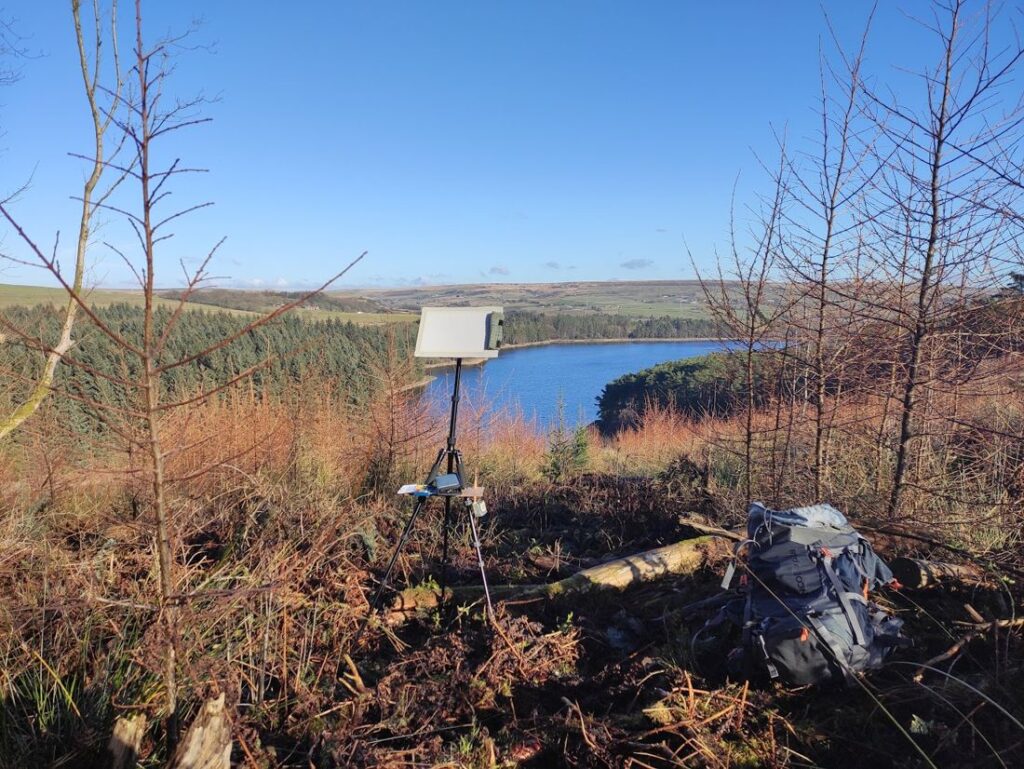
I’ve been experimenting with different setups- my current setup is based on James Gurney’s tripod setup but is constantly evolving.

It basically consists of a lightweight tripod- a board screwed onto the tripod’s camera plate, and a small shelf made of some more board that hooks around the legs of the tripod. My water pots (old plastic bottles with a metal hanging bracket glued on) and paint box are clamped onto the shelf with magnets. I also usually clamp a rag on with a bulldog clip, and clamp a piece of scrap paper over my painting surface to protect it before putting it my bag. A small section of camping foam roll makes for a portable seat. The whole lot can be easily packed up into my backpack.

Thus far I haven’t had the courage to paint in any busy places- I prefer the most wilderness-like places I can find! The idea of painting with people looking over my shoulder is not very appealing.

Mistakes made and lessons learned:

Don’t forget your stuff.

This is a big one. If you have a dedicated plein-air bag with everything ready to go- then you’re less likely to leave something important behind.

Choose a suitable subject.

You are not a camera. Don’t try to be one. There’s a place for photorealism, but it’s probably not when you have limited time, minimal shelter and the light is constantly changing! I’ve found that simpler, more graphic subjects tend to come out better.

Do a decent drawing first.

A good drawing makes for a good painting. It’s very tempting to rush to the fun bit with all the swooshy colours, but knowing what things are and where they go saves you a lot of trouble later on.

When I say a “good” drawing- I mean a clear drawing that simplifies the scene and will help you understand where one thing ends and another begins.

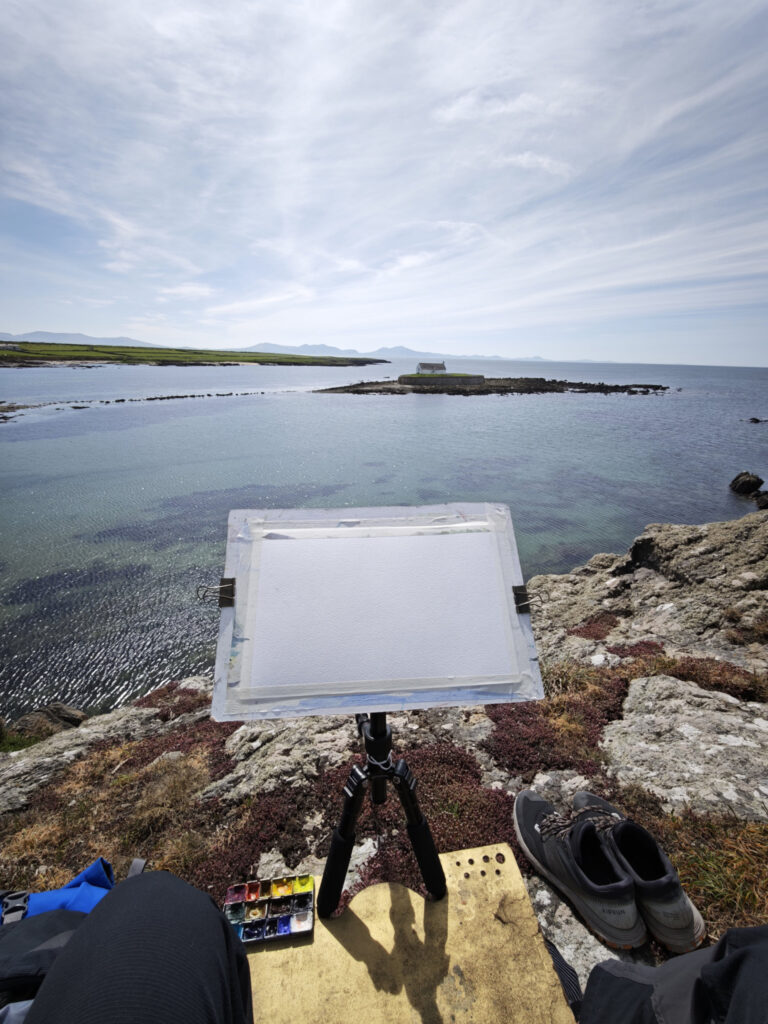
Eglwys Cwyfan, Anglesey. Top tip: take your shoes off to feel more at home anywhere.

Prepare for the conditions!

Kind of obvious, I know. It will probably surprise no one to find out that the final artwork is often better when your fingers don’t hurt from the cold, and shivering is preventing you from making any accurate marks. On the other hand- blinding direct sunlight doesn’t make things easy either.

Then there’s the insects! Not only do mosquitoes, ticks and horseflies love the taste of plein air painters, but every other insect seems to enjoy sitting on the bright white, often damp, surface of your painting.

A few extra common sense items solve most problems:

  • Season appropriate clothing- often including gloves and hat.
  • Sun cream.
  • Insect repellent.